Togetherness is a beautiful thing.
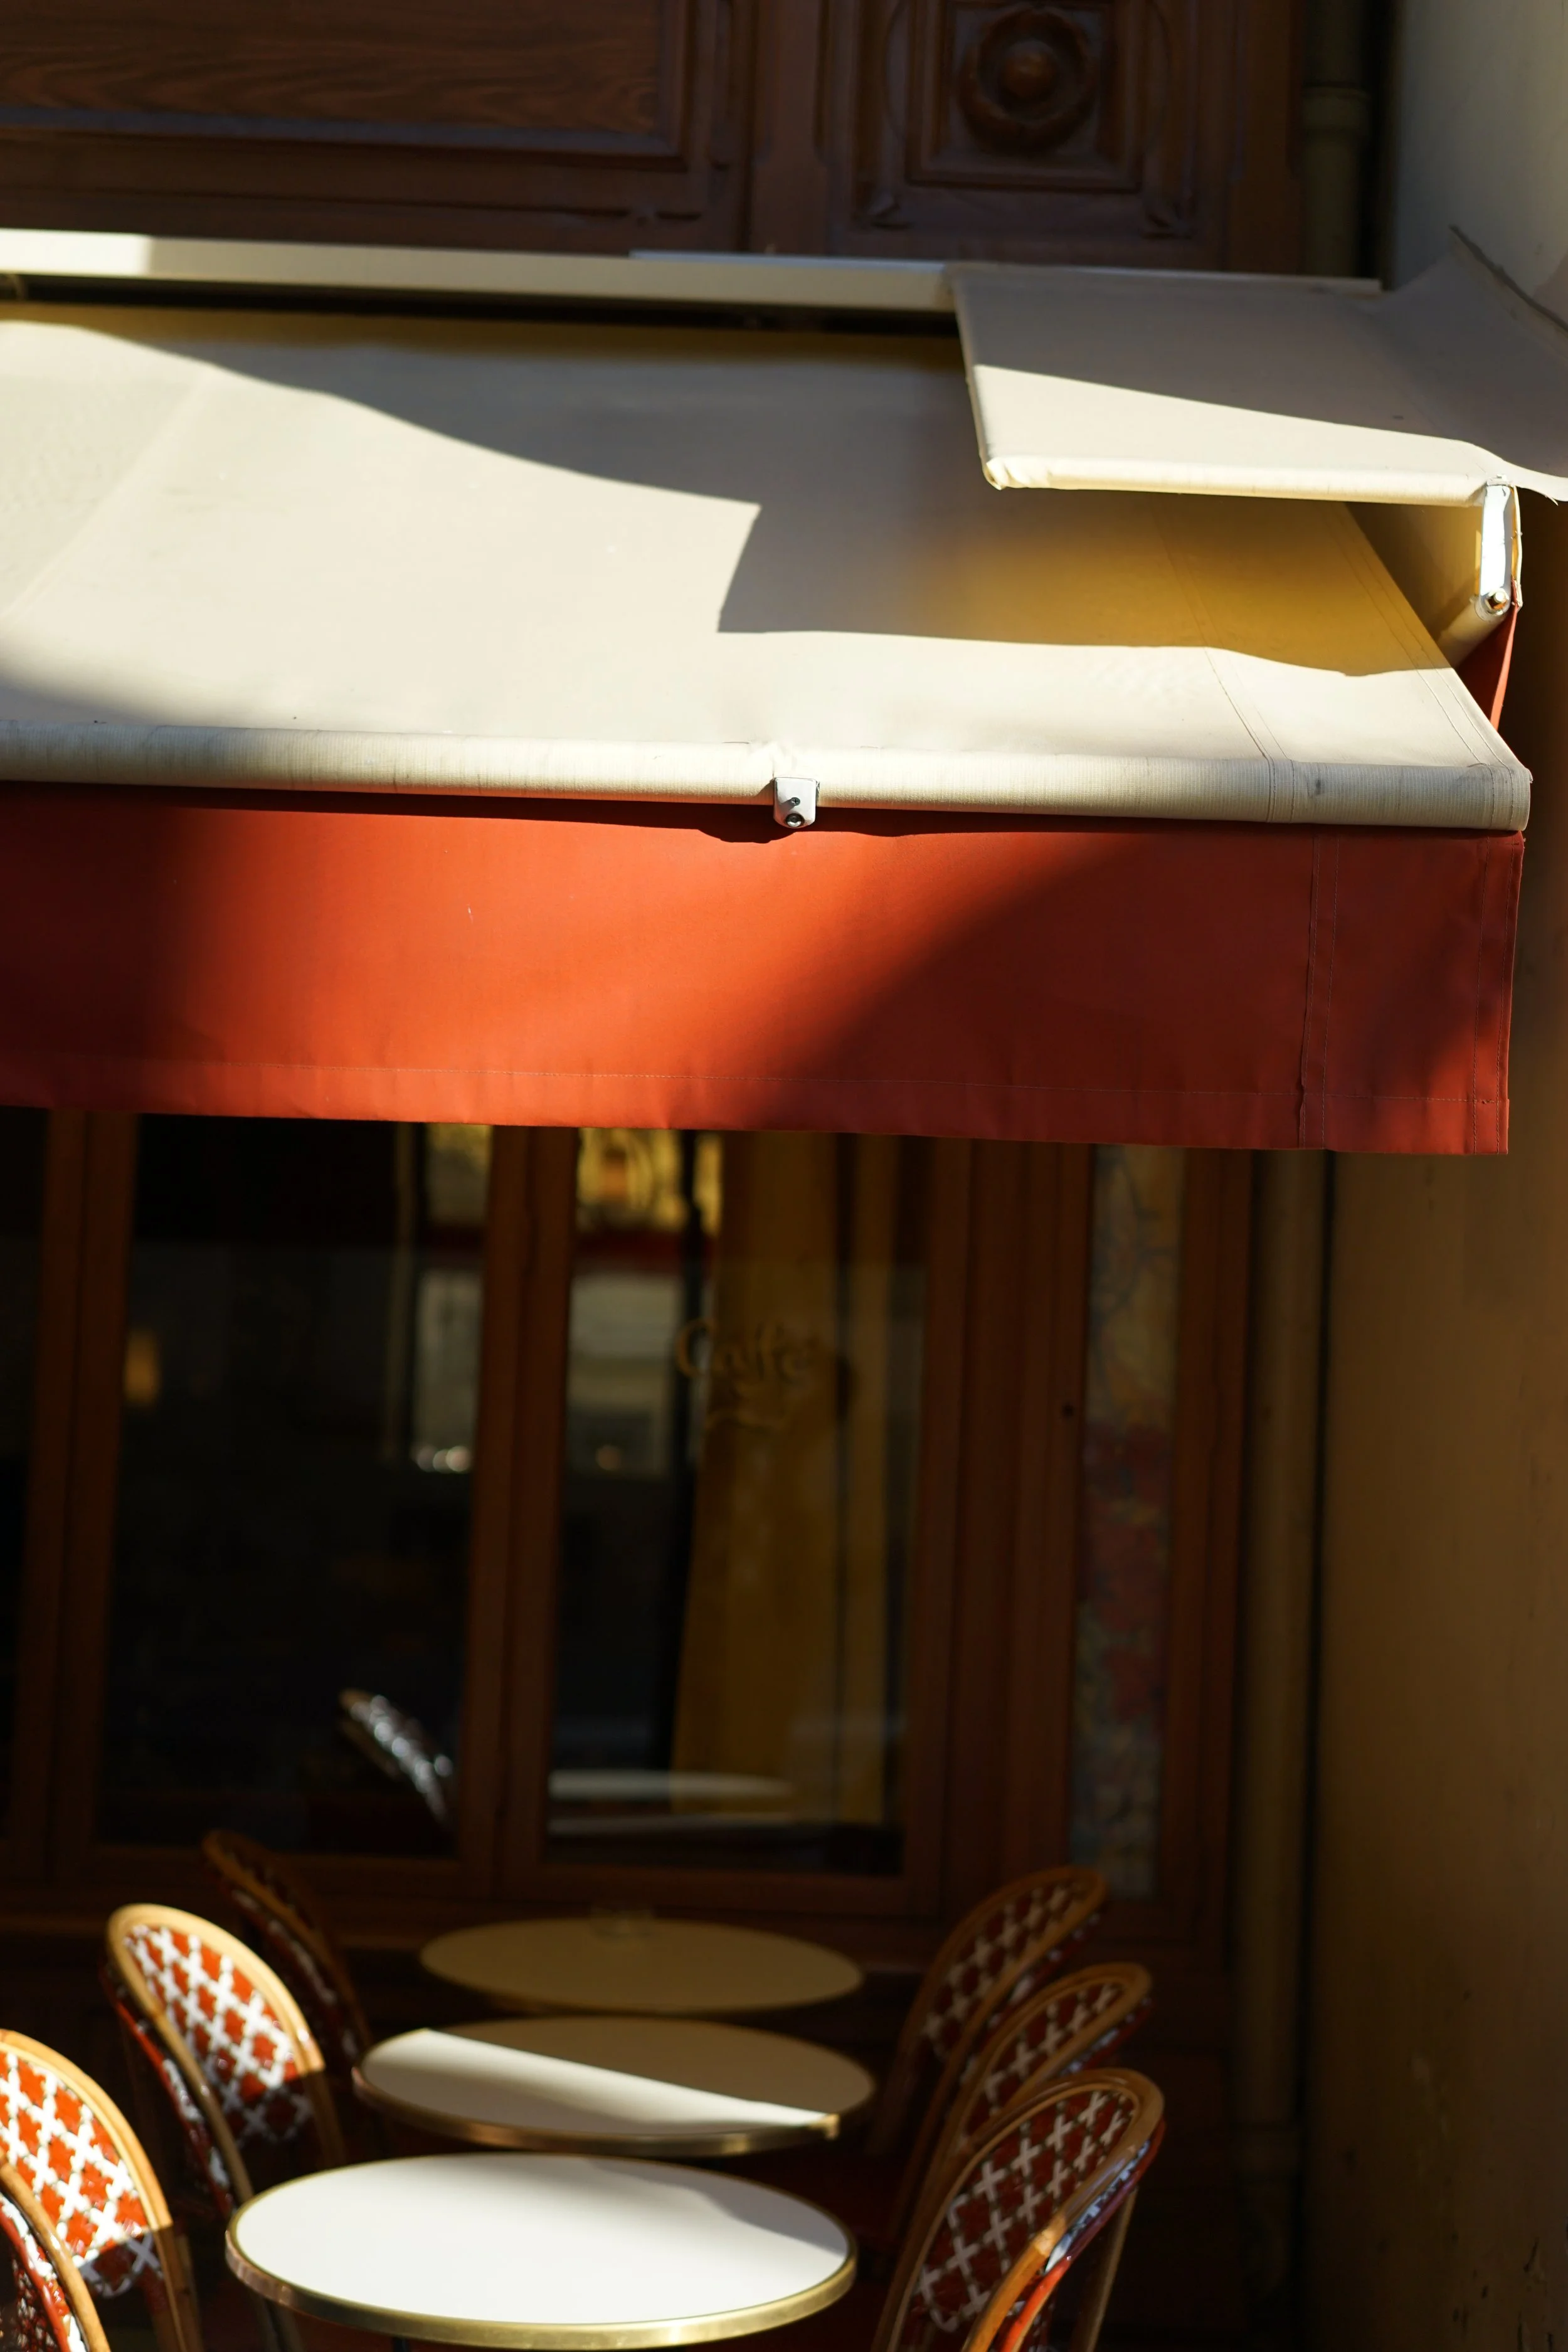
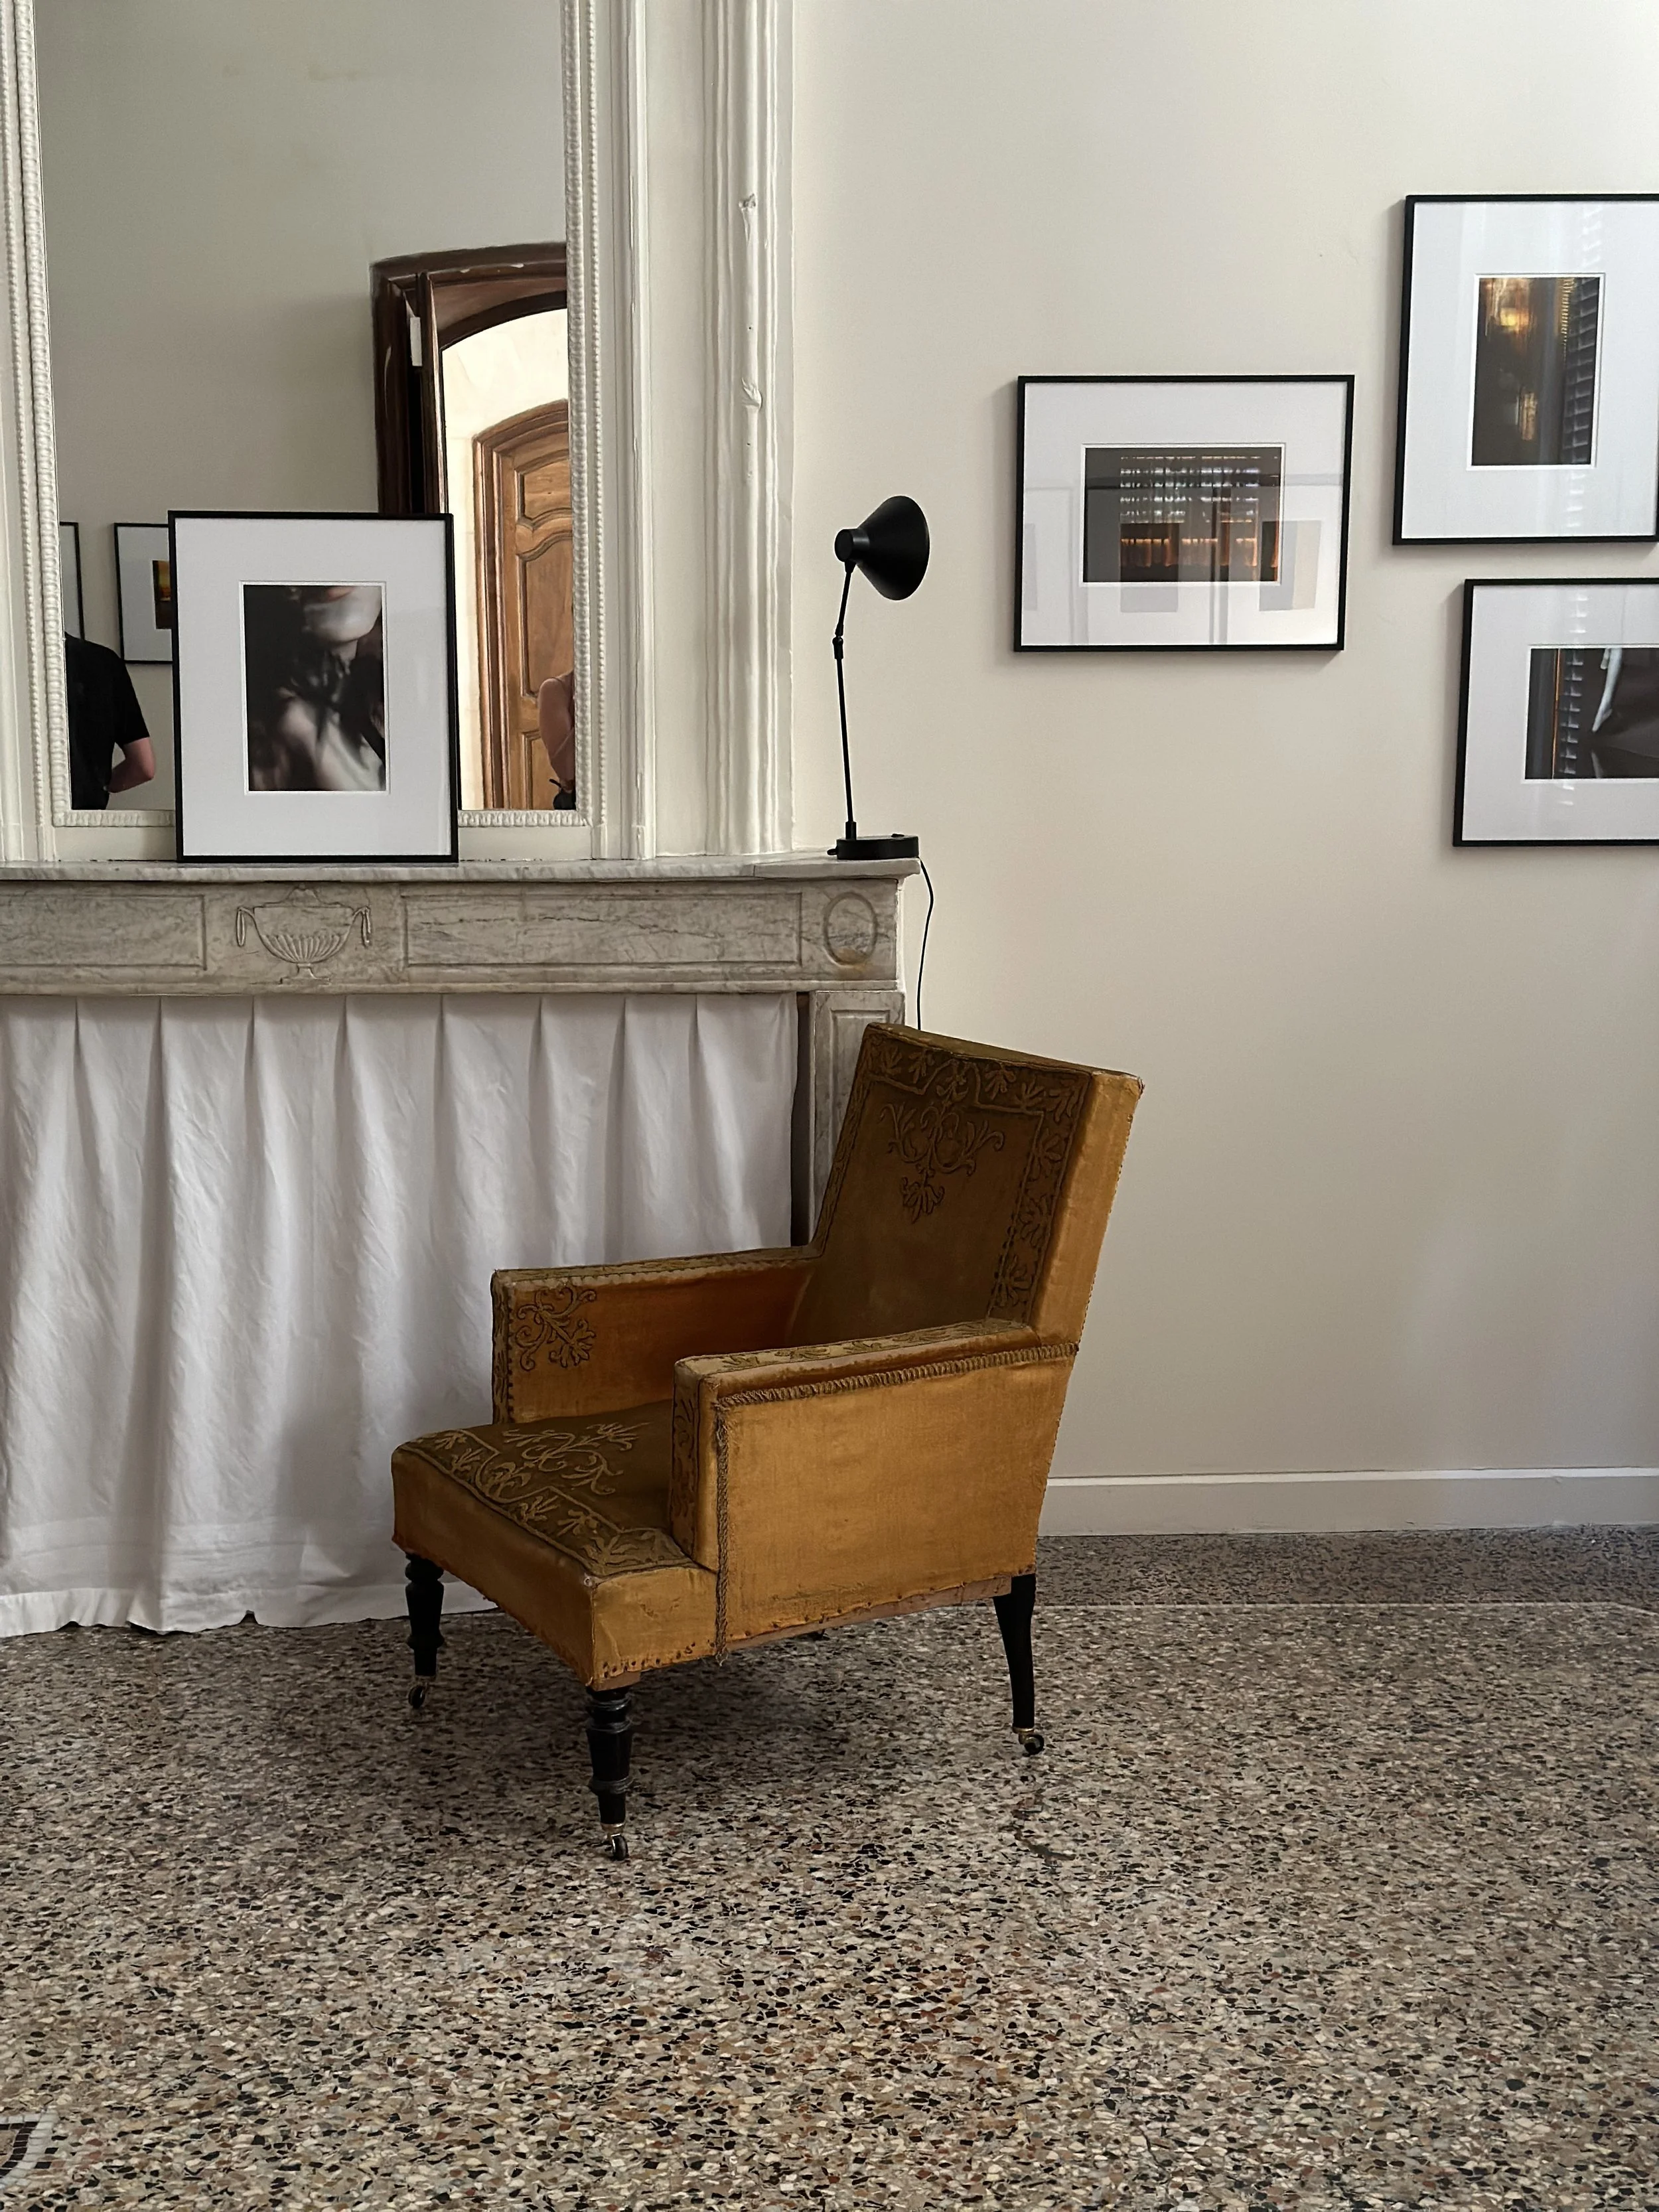
What better way to bring people together than around a table, sharing a meal or a drink, whether at home or out, with family, friends, or even strangers.
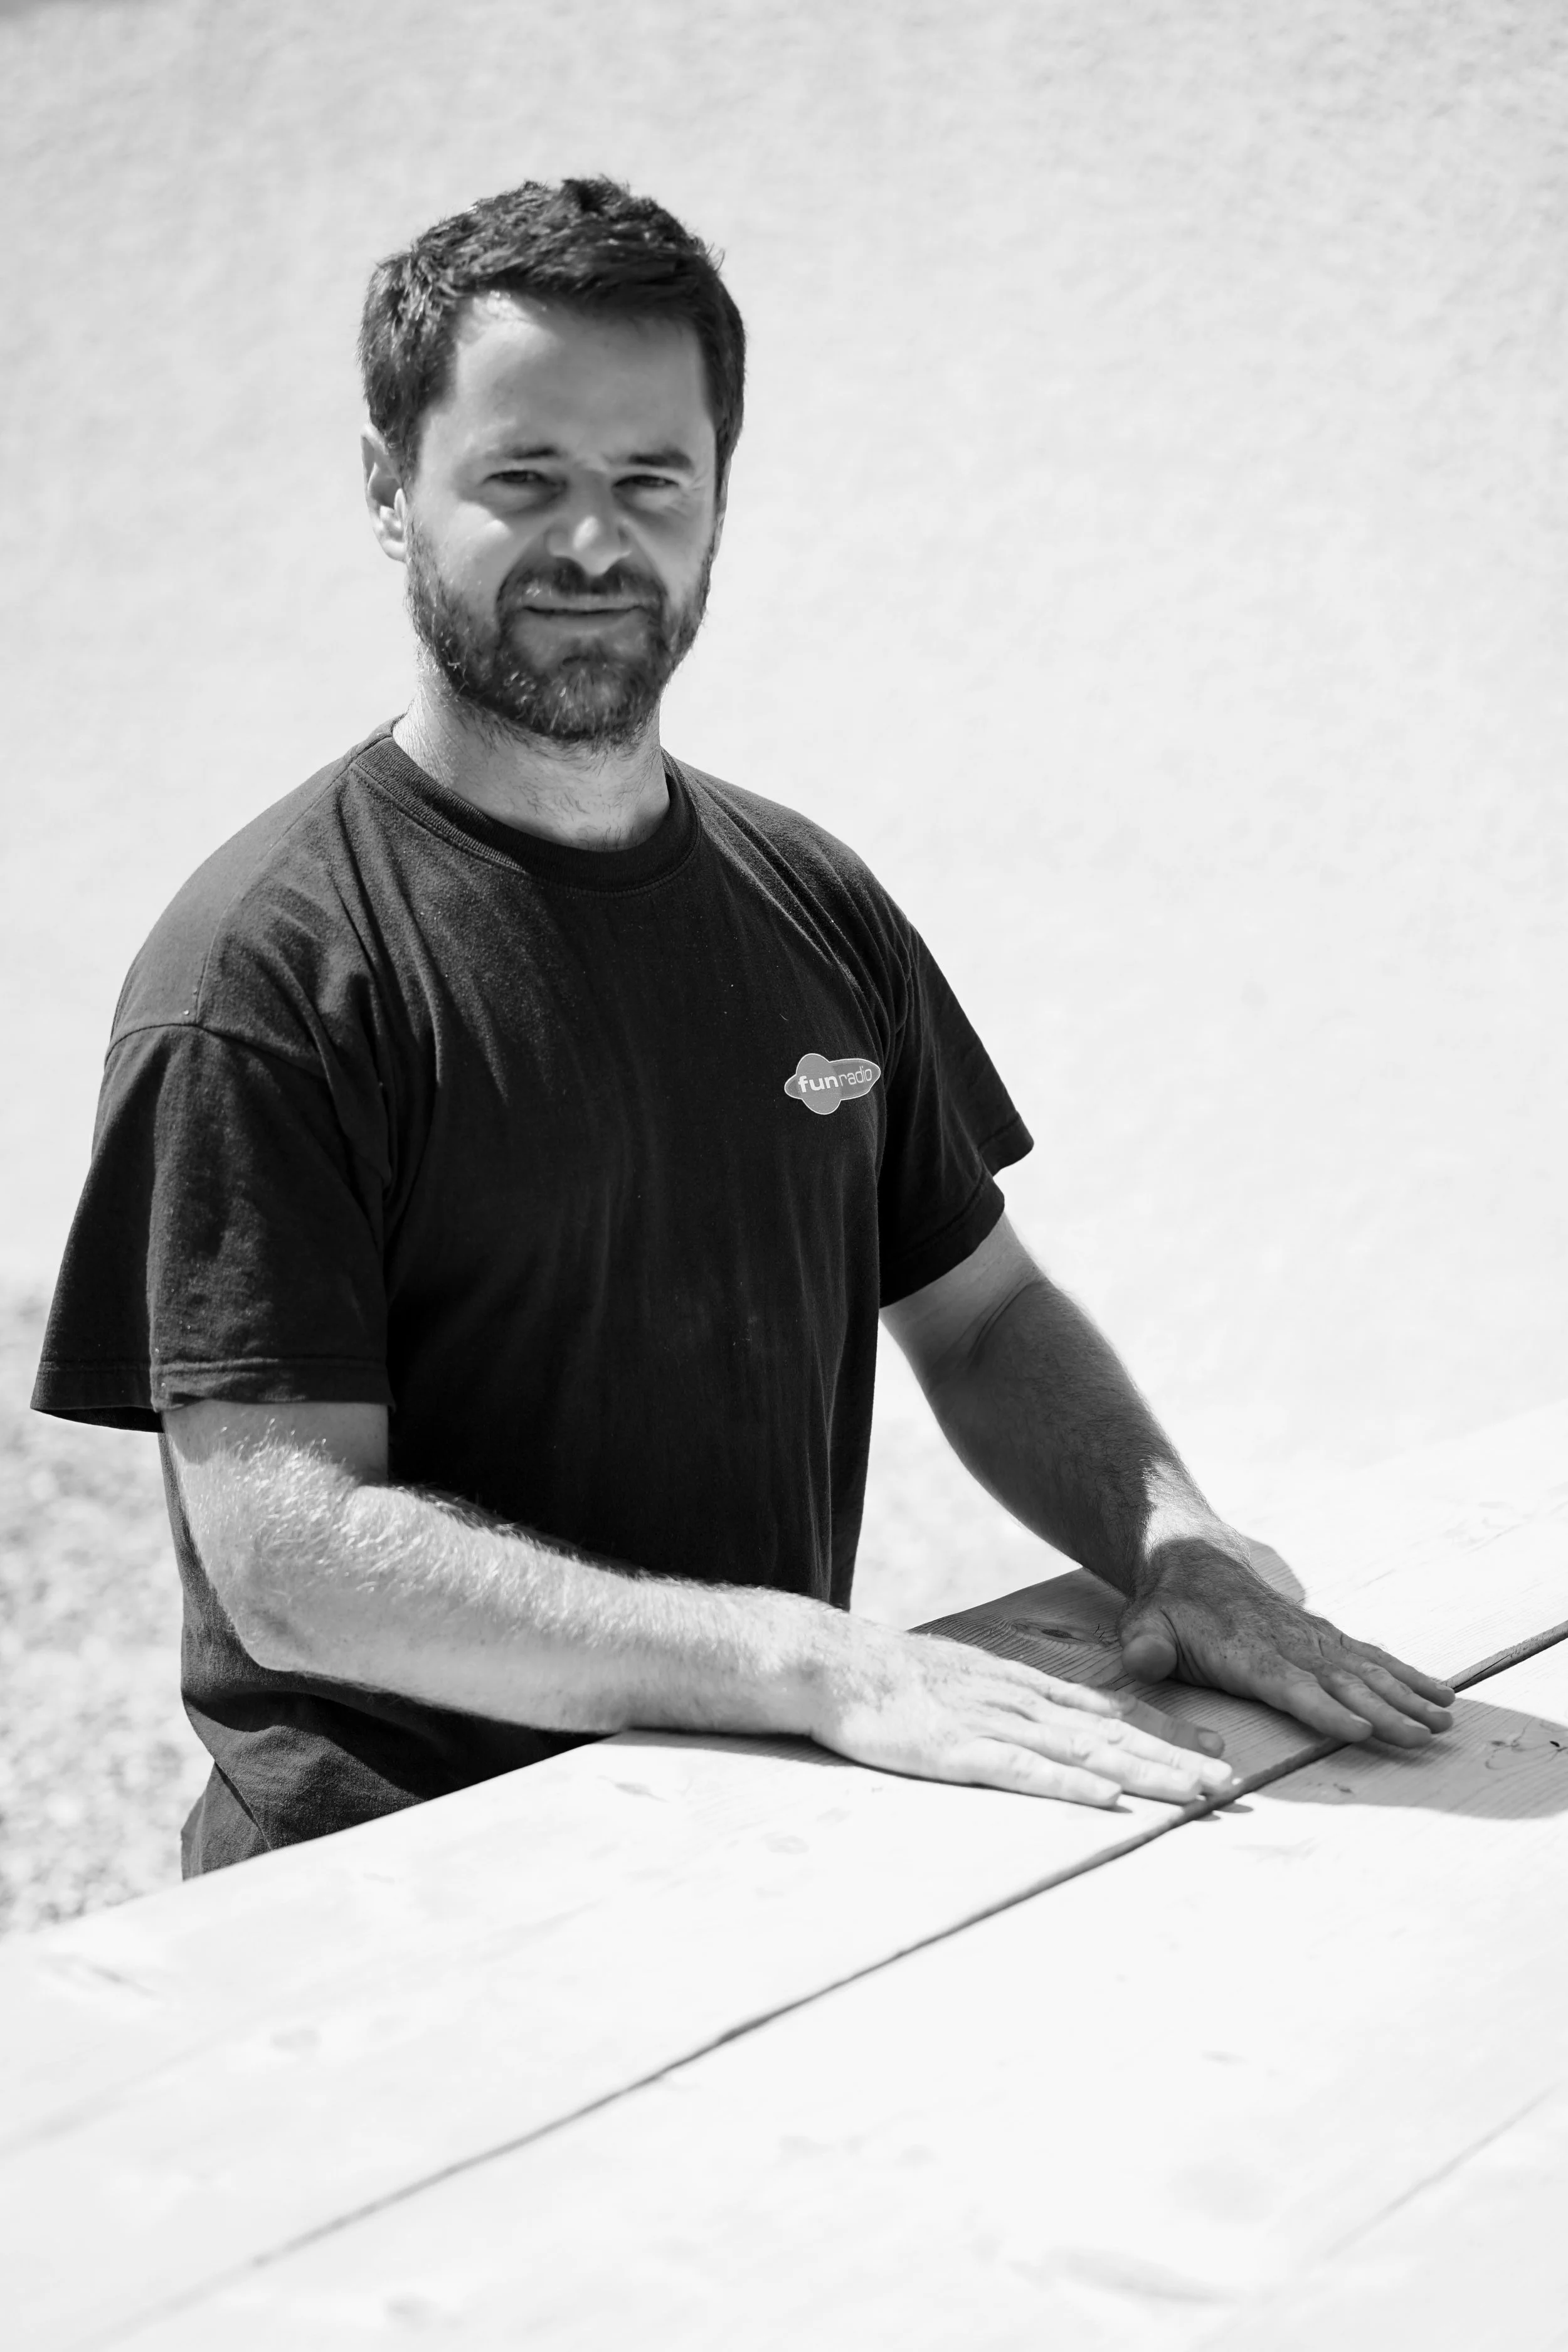
I’ve spent years in hospitality — front‑of‑house and behind the scenes in pastry—perfecting everything from warm greetings to delicate choux. I love to host and cook, orchestrating every detail so that you can simply relax, indulge and connect.
Fabàtable is my way of inviting you to join me around my table and to celebrate what matters to many of us : food, wine, travel, dreams and the beautiful connections we make along the way.